Creating a beautiful coconut cake is easier than you think, and it’s perfect for making a lasting impression at your holiday gathering.
Imagine the delight on your guests’ faces when you present a moist and delicious coconut dessert, adorned with a festive nest-like decoration that’s sure to impress.
This classic cake combines the tropical flavor of coconut with a tender texture and creamy frosting, making it a perfect dessert for spring celebrations.
By following these 5 straightforward steps, you’ll be able to create a professional-looking and delicious coconut cake that’s sure to become a family favorite.
Table of Contents
The Perfect Easter Coconut Cake: An Overview
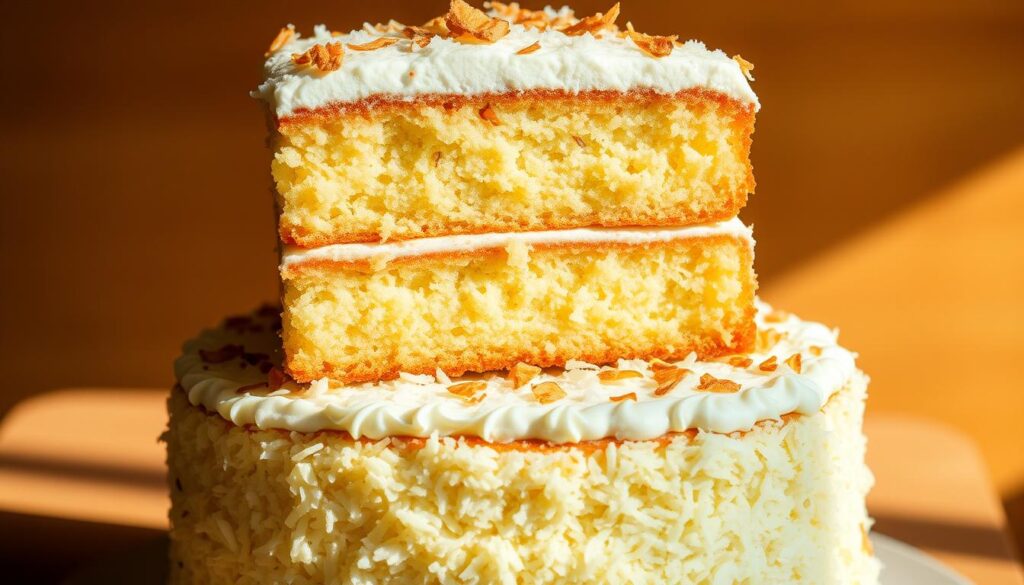
With its perfect balance of sweetness and coconut flavor, the Easter Coconut Cake is sure to be a hit at your holiday gathering. This beautiful springtime nest cake is not only impressive but also easy to make and decorate, making it a great project to involve your family, especially young children.
What Makes This Cake Special
The Easter Coconut Cake stands out with its moist cake layers, creamy frosting, and the textural contrast of flaked coconut. The combination of these elements creates a truly special dessert that’s perfect for Easter celebrations. You can also add decorative elements like candy eggs or jelly beans to give it a personalized touch.
- The cake’s nest-like appearance is a great way to celebrate Easter.
- The tropical flavor of coconut adds a unique twist to traditional Easter desserts.
Equipment You’ll Need
To make this Easter Coconut Cake, you’ll need some basic baking equipment. Here’s a rundown of the essentials:
| Equipment | Purpose |
|---|---|
| Round cake pans (8 or 9-inch) | Baking the cake layers |
| Electric mixer | Mixing the batter and frosting |
| Serrated knife | Leveling the cake layers |
| Offset spatula | Frosting the cake |
Gathering Your Ingredients
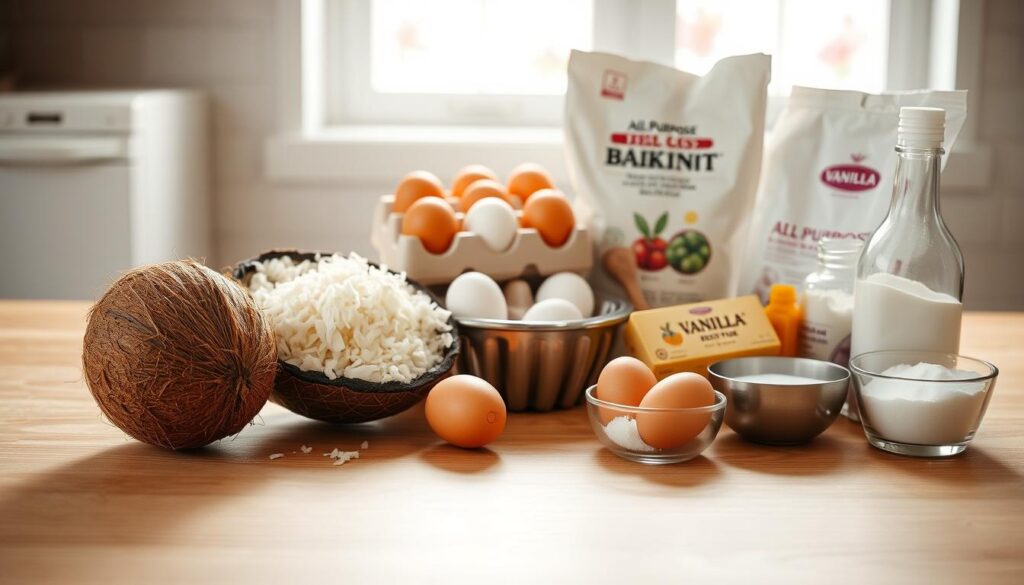
Before you start baking your Easter Coconut Cake, it’s essential to gather all the necessary ingredients. Having everything measured and ready will make the baking process much smoother and more enjoyable.
For the Cake
To make the cake, you’ll need a few key ingredients. Start with a 15.25 oz. white cake mix, such as Duncan Hines, which serves as a convenient foundation. You can enhance the flavor by substituting the water called for on the box mix with unsweetened coconut milk. Additionally, you’ll need 3 eggs at room temperature to ensure they incorporate better into the batter, resulting in a more uniform texture. ⅓ cup of vegetable oil adds moisture to the cake, while 3½ teaspoons of coconut extract intensifies the tropical flavor profile.
For the Coconut Frosting
For the frosting, you’ll need 1 cup of unsalted butter at room temperature, 6 cups of confectioners’ sugar for sweetness, and 6 tablespoons of heavy whipping cream to achieve the right consistency. Don’t forget 2 cups of sweetened flaked coconut, which will be used both in the frosting and as a decorative element on the outside of the cake. You can also add a hint of coconut extract to enhance the flavor.
Here’s a summary of the ingredients you’ll need:
| Ingredient | Quantity | For |
|---|---|---|
| White Cake Mix | 15.25 oz. | Cake |
| Unsweetened Coconut Milk | 1 cup | Cake |
| Eggs | 3 | Cake |
| Vegetable Oil | ⅓ cup | Cake |
| Coconut Extract | 3½ teaspoons | Cake & Frosting |
| Unsalted Butter | 1 cup | Frosting |
| Confectioners’ Sugar | 6 cups | Frosting |
| Heavy Whipping Cream | 6 tablespoons | Frosting |
| Sweetened Flaked Coconut | 2 cups | Frosting & Decoration |

Step 1: Preparing and Baking the Cake Layers
The foundation of a stunning Easter Coconut Cake lies in its perfectly baked cake layers. To achieve this, you need to focus on three key aspects: preheating and pan preparation, mixing the batter, and baking tips for perfect cake layers.
Preheating and Pan Preparation
Begin by preheating your oven to 350°F (175°C), ensuring your cake starts baking immediately for even rising. Properly prepare your cake pans by greasing them thoroughly and dusting with flour, or use a baking spray with flour for quicker preparation. This step is crucial for preventing your cakes from sticking to the pans.
Mixing the Batter
For the batter, combine your cake mix with coconut milk (instead of water), eggs, oil, and coconut extract in a large bowl. Mix on low speed initially to combine ingredients without creating air bubbles, then increase to medium speed for about 2 minutes until the batter is smooth and well-incorporated. Using an electric mixer will help in achieving a uniform batter.
Baking Tips for Perfect Cake Layers
Divide the batter evenly between your prepared pans. Bake the cakes in the preheated oven until they’re lightly golden on top and a toothpick inserted in the center comes out clean, typically 20-25 minutes. Allow the cakes to cool in their pans for 10-15 minutes before transferring to cooling racks.
| Baking Time | Oven Temperature | Cake Layer Outcome |
|---|---|---|
| 20-25 minutes | 350°F (175°C) | Lightly golden and clean toothpick |
| Under 20 minutes | 350°F (175°C) | Underbaked, may be soggy |
| Over 25 minutes | 350°F (175°C) | Overcooked, dry |

By following these steps, you’ll be able to achieve perfectly baked cake layers for your Easter Coconut Cake. For easier handling when assembling, consider wrapping the completely cooled layers in plastic wrap and refrigerating for an hour or overnight.
Step 2: Creating The Easter Coconut Cake Frosting
To make your Easter Coconut Cake truly special, you need to create a frosting that’s just as delicious as the cake itself. The frosting is what brings the entire dessert together, complementing the cake’s flavors and adding a rich, creamy texture. In this step, you’ll learn how to make a delicious cream cheese frosting with a hint of coconut flavor.
Mixing the Cream Cheese Frosting Base
Start by beating butter in a large bowl with an electric mixer on low speed until it’s creamy and smooth. This step is crucial for creating a smooth frosting without lumps. To achieve the perfect consistency, you’ll need to gradually add confectioners sugar, about one cup at a time, alternating with heavy cream. Begin with beating 1 cup of confectioners’ sugar into the butter mixture until thoroughly combined, then add 1 tablespoon of heavy cream. Continue this process until all the confectioners’ sugar and cream are incorporated, resulting in a smooth and creamy frosting.
| Ingredient | Quantity | Purpose |
|---|---|---|
| Butter | As needed | Base for the frosting |
| Confectioners Sugar | Multiple cups | Sweetness and texture |
| Heavy Cream | Multiple tablespoons | Adjusts consistency |
Adding the Coconut Flavor
To give your frosting a distinct coconut flavor, you’ll need to add coconut extract. Beat in the remaining 2 1/2 teaspoons of coconut extract into the frosting base. This will intensify the coconut flavor, complementing the coconut in the cake layers. For a lighter frosting, you can also incorporate whipped topping or whipped cream into the mixture. The key is to achieve a spreadable yet firm consistency that holds its shape when applied to the cake.
Some tips to keep in mind: for a rich and creamy frosting, start with room temperature ingredients; gradually incorporate confectioners’ sugar to prevent a messy sugar cloud; and adjust the frosting consistency as needed with heavy cream or confectioners’ sugar. Allowing your completed frosting to chill for 15-20 minutes before applying it to the cake makes spreading easier and more precise.
Step 3: Assembling and Frosting Your Cake
Assembling and frosting your Easter Coconut Cake is the most rewarding part of the process, and with these steps, you’ll achieve a beautiful result. As you prepare to bring your cake together, remember that patience and attention to detail are key.
Leveling and Layering the Cakes
Before you start assembling your cake, ensure that your cake layers have cooled completely. This is crucial to prevent the frosting from melting. Use a long serrated knife to level the tops of your cake layers if they have domed during baking, creating flat surfaces for stacking. Place your first cake layer on a serving plate or cake board, and consider adding strips of parchment paper under the edges to keep your serving plate clean while frosting.
As you stack your cake layers, apply a generous layer of frosting to the top of the first layer, spreading it evenly to the edges with an offset spatula. Continue stacking and frosting each layer, making sure they’re aligned properly to prevent a leaning cake. For the final layer, place it bottom-side up to give you a perfectly flat top surface for the cake.
Applying the Frosting
Apply a thin layer of frosting all over the cake as a “crumb coat,” then refrigerate for 15-30 minutes to set before applying the final layer of frosting. As Marie Antoinette’s famous patissier once said, “The difference between a good cake and a great cake is in the details.” Work from the top down when applying the final frosting layer, using smooth, even strokes with your spatula for a professional finish.
To complete your Easter Coconut Cake, frost the top and sides with the remaining frosting, and lightly press flaked coconut into the sides of the cake. As you finish, admire your handiwork and enjoy the fruits of your labor!
Step 4: Decorating Your Easter Coconut Cake
With your cake frosted, the next step is to decorate it, making it a showstopper for your Easter celebration. Decorating your Easter Coconut Cake is where you get to be creative and add a personal touch.
Creating the Coconut Nest Effect
To create the signature nest effect, generously press sweetened flaked coconut onto the sides and top of your frosted cake. For a more natural look, you can toast some of the coconut before applying it to the cake, giving your “nest” varying shades of color and a subtle nutty flavor.
To toast coconut, spread it on a baking sheet and bake at 325°F for 5-10 minutes, stirring occasionally until it reaches your desired golden color.
Adding Easter-Themed Decorations
For an Easter-themed decoration, create “grass” by tinting some coconut green using food coloring mixed with a few drops of water in a sealed plastic bag. Arrange the green-tinted coconut on top of the cake to form a nest, leaving a slight depression in the center.
Complete your Easter cake by placing candy eggs or jelly beans in the center of your coconut nest, gently pressing them into the frosting to secure them. For added visual interest, consider using different sizes or colors of candy eggs, or incorporate small chocolate bunnies around the edge of the cake.
Step 5: Storing and Serving Your Coconut Cake
To keep your Easter coconut cake fresh and flavorful, follow these storage and serving tips. Proper storage is crucial to maintaining the cake’s moisture and flavor.
Refrigeration Guidelines
Due to the cream cheese frosting, your coconut cake should be refrigerated when not being served. Store it in a cake saver or under a glass dome to prevent it from absorbing refrigerator odors and to maintain moisture. Some coconut cake recipes, like the Three Day Coconut Cake, actually improve with time in the refrigerator as the flavors meld and develop.
- Refrigerate the cake for up to 3 days for the best flavor.
- Cover leftover cake tightly and store it in the refrigerator for up to 5 days.
Serving Suggestions
When ready to serve, remove the cake from the refrigerator about 30 minutes beforehand to allow the frosting to soften slightly. Serve your Easter coconut cake on a decorative cake stand to showcase your beautiful creation.
| Serving Suggestions | Beverage Pairing |
|---|---|
| Serve on a decorative cake stand | Coffee |
| Pair slices with a dessert | Tea or dessert wine |
Conclusion
Creating an Easter Coconut Cake is not just about baking; it’s about making memories that will last a lifetime. By following the five simple steps outlined, you can craft a professional-looking dessert that’s sure to impress your guests. The combination of moist cake layers, creamy frosting, and textured coconut creates a truly memorable dessert.
Feel free to personalize your cake with different colored coconut or Easter candies. This Easter Coconut Cake recipe is versatile and can be adapted to suit various dietary needs. It’s also a great make-ahead dessert as it improves with time in the refrigerator. Share your creation on social media using #EasterCoconutCake to inspire others!


