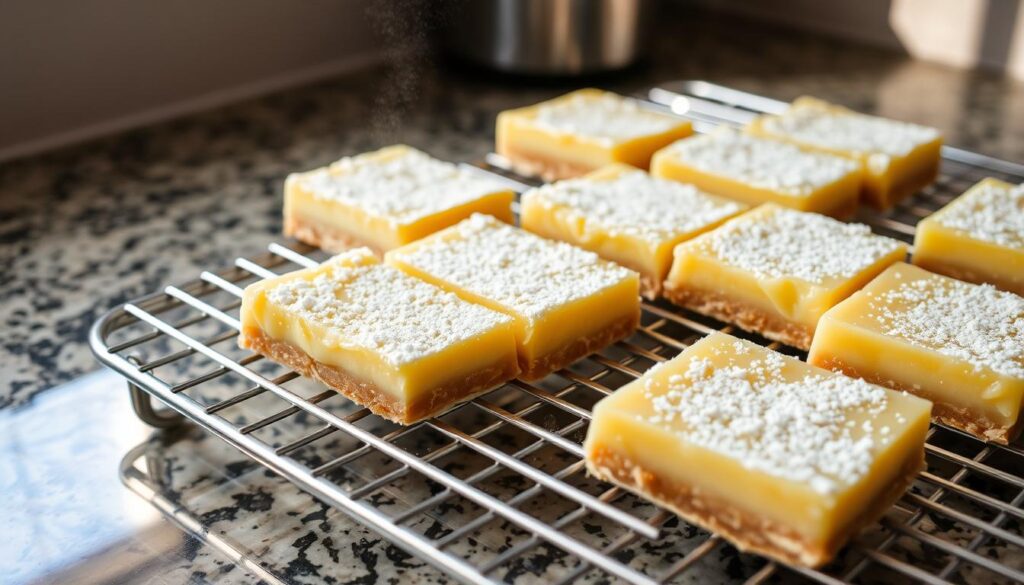
Lemon bars are a classic dessert that combines a soft, buttery shortbread crust with a tangy, sweet lemon curd filling, making them a perfect treat for various occasions like picnics, bake sales, and spring brunches.
To create the perfect lemon bars, achieving a balance between sweet and tangy flavors is crucial. This article will guide you through 7 essential tips to make lemon bars that are sure to impress at any gathering.
You’ll learn how to select the right ingredients, achieve the ideal texture for both the crust and filling, and master the techniques that professional bakers use to create these delightful bars every time.
Table of Contents
The Magic of Homemade Lemon Bars
The magic of homemade lemon bars is in the harmony of their components: a crumbly shortbread crust and a silky lemon curd filling. When you make lemon bars at home, you can achieve a perfect balance between the buttery crust and the bright, tangy filling.
What Makes a Perfect Lemon Bar
A perfect lemon bar has a shortbread crust that’s both sturdy and tender, paired with a lemon filling that’s silky smooth and balanced in sweetness and tanginess. The lemon layer should be thick and substantial, not thin or flimsy. Achieving this balance is key to making classic lemon bars that are both homemade and perfect.
Essential Ingredients for Classic Lemon Bars
To make classic lemon bars, you’ll need high-quality ingredients, including butter for the crust, fresh lemons for juice and zest, eggs for structure, and the right proportions of sugar and flour. The addition of vanilla extract in the shortbread crust adds depth and complements the bright lemon notes. Using fresh lemon juice rather than bottled makes a significant difference in the brightness and flavor of your lemon bars.
Tip 1: Choose the Right Baking Pan
The key to perfect lemon bars starts with choosing the right baking pan. Choosing the right baking pan is crucial for achieving the perfect lemon bars, as it affects both the baking process and the final texture of the bars.
Why Glass Pans Are Best for Lemon Bars
Glass pans are considered the gold standard for baking lemon bars. They conduct heat more evenly, which helps in achieving a perfectly baked crust and a smooth, set filling. Using a glass pan prevents the metallic taste that can occur when acidic lemon filling reacts with metal pans. The transparent nature of glass pans also allows you to check the browning of the crust from all angles, ensuring it reaches the perfect doneness.
Proper Pan Preparation to Prevent Sticking
To ensure your lemon bars don’t stick to the pan, proper preparation is key. Line the bottom and sides of a 9×13-inch glass baking pan with parchment paper, leaving an overhang on the sides to make removal easier. Before adding the parchment paper, a light coating of butter or cooking spray helps it adhere to the pan. This simple step makes removing and cutting the bars significantly easier and cleaner.
For best results, use a 9×13 inch pan for standard recipes, or an 8×8 inch pan for smaller batches. Proper pan preparation is essential to prevent sticking, ensuring your lemon bars come out perfectly.
Tip 2: Perfect Your Shortbread Crust
Your lemon bars are only as good as your shortbread crust. The crust provides both structural support and a delicious buttery contrast to the tangy filling. To perfect your shortbread crust, you need to focus on a few key aspects.
Getting the Ideal Crust-to-Filling Ratio
Getting the ideal crust-to-filling ratio is essential. If the crust is too thin, it will become soggy; if it’s too thick, it will overwhelm the lemon flavor. A good shortbread crust is made with melted butter, sugar, vanilla extract, salt, and flour. The right balance ensures that your lemon bars have a sturdy base without overpowering the filling.

Pre-Baking Your Crust for the Best Texture
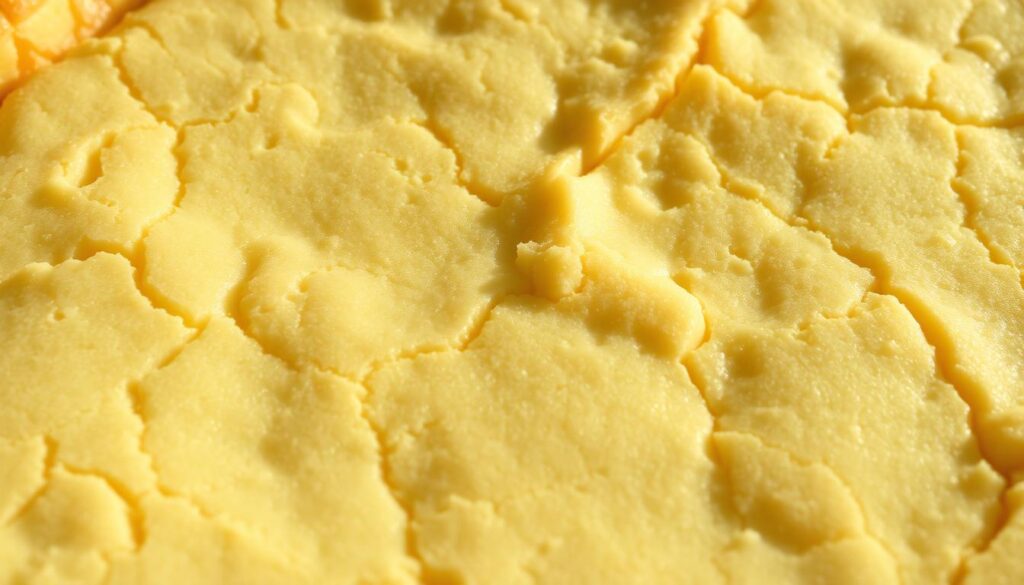
Pre-baking your crust is a crucial step. It creates a barrier that prevents the liquid filling from making the crust soggy. To pre-bake, bake the crust for about 20 minutes, then poke holes all over the top with a fork while it’s still warm. This helps the filling stick to the crust and prevents it from bubbling up.
The Secret Vanilla Addition
Using 2 teaspoons of vanilla extract in your shortbread crust is a best-kept secret. It adds a warm depth of flavor that complements the bright lemon notes beautifully. This simple addition elevates your lemon bars to a new level.
By focusing on these aspects, you can create a shortbread crust that is both delicious and structurally sound, providing the perfect base for your lemon bars.
Tip 3: Master the Lemon Filling
Mastering the lemon filling is crucial for achieving the perfect balance of flavors in your lemon bars. The lemon filling is the star of the show, and getting it right ensures your lemon bars will have that perfect sweet-tangy balance.
Using Fresh Lemon Juice for Maximum Flavor
Always use freshly squeezed lemon juice for the best flavor. Store-bought bottles are convenient, but you miss out on a lot of flavor. For exceptional taste, fresh-squeezed lemon juice is highly recommended. To maximize flavor extraction, roll your lemons firmly on the counter before juicing to release more of the essential oils and juice.
The Perfect Balance of Sweet and Tangy
The perfect balance of sweet and tangy is achieved with the right amount of sugar and lemon juice. Too much sugar masks the lemon flavor, while too little makes the bars unpleasantly sour. The filling is made by whisking together sugar, flour, eggs, and lemon juice.
Adding Lemon Zest for Extra Zing
Adding lemon zest provides extra lemon flavor and an extra dimension of citrus flavor that juice alone can’t deliver. Lemon zest enhances the overall flavor profile, making your lemon bars more vibrant and appealing.
Tip 4: Baking Lemon Bars at the Right Temperature
To ensure your lemon bars turn out perfectly, it’s essential to get the baking temperature just right. Baking at the correct temperature is crucial for achieving that perfect creamy texture in the filling.
Why Lower Temperatures Yield Better Results
Baking lemon bars at a lower temperature, specifically around 325°F (163°C), yields better results because it allows the eggs in the filling to set slowly and evenly without curdling. Lower oven temperatures help prevent the filling from puffing up too much and then collapsing, which can create an uneven surface or cracks. This results in a smooth and creamy lemon curd filling.
How to Tell When Your Lemon Bars Are Done
Knowing when your lemon bars are done requires attention to detail. The center should be relatively set and no longer jiggles when you gently shake the pan. You can test this by giving the pan a light tap with an oven mitt. The edges may look slightly puffed and begin to pull away from the sides of the pan when done. It’s better to slightly under-bake than over-bake, as over-baking can result in a rubbery filling.
To achieve the perfect texture, bake the bars for 22-26 minutes. Use visual cues rather than relying solely on timing, as oven temperatures can vary significantly.
Tip 5: Proper Cooling and Chilling Techniques
To achieve the perfect texture in your lemon bars, it’s essential to follow a two-stage cooling process. This involves cooling the bars at room temperature first, followed by refrigeration to set the filling and crust.
Room Temperature Cooling First
After baking, it’s crucial to cool your lemon bars completely at room temperature for about 1-2 hours. This initial cooling stage helps prevent condensation from forming on the surface of the bars, which can make them soggy. By allowing the bars to cool slowly and naturally, you’ll be able to achieve a smooth, even texture.
Refrigeration for Perfect Texture and Easy Cutting
Once the bars have cooled to room temperature, transfer them to the refrigerator to chill for an additional 1-2 hours. This refrigeration stage firms up the filling completely, making it easier to get clean, precise cuts. Chilled lemon bars also have a more intense flavor profile, as the cold temperature enhances the perception of both sweetness and acidity.
For the cleanest cuts, use a sharp knife dipped in hot water and wiped clean between slices. Some key benefits of proper cooling and chilling include:
- Achieving the perfect texture in your lemon bars
- Preventing condensation from forming on the surface
- Firming up the filling for clean, precise cuts
- Enhancing the flavor profile of the lemon bars

By following these cooling and chilling techniques, you’ll be rewarded with perfectly set bars that hold their shape when served. Patience during this process is key to achieving professional-looking results.
Tip 6: Troubleshooting Common Lemon Bar Problems
Common issues with lemon bars can often be resolved with a few simple adjustments to your baking technique. Even experienced bakers encounter problems, but knowing how to troubleshoot can make all the difference in achieving the perfect lemon bars.
Dealing with Air Bubbles on Top
Air bubbles on the surface of your lemon bars are completely normal and are caused by air in the egg mixture rising during baking. These bubbles don’t affect the taste and can be easily disguised with a generous dusting of powdered sugar before serving. This simple trick not only hides imperfections but also adds a sweet contrast to the tangy filling.
Preventing a Soggy or Cracked Crust
A soggy crust typically results from not pre-baking it long enough or having a filling that’s too wet. To prevent this, ensure your crust is golden before adding the filling. On the other hand, a cracked crust often happens when the dough is pressed too thinly or unevenly. To avoid this, aim for a uniform thickness and press the dough firmly into the corners of the pan.
By following these tips, you can troubleshoot common problems and achieve a perfectly baked batch of lemon bars with a great crust.
Conclusion: Enjoying Your Perfect Lemon Bars
Having mastered the art of making lemon bars, you can now enjoy this tangy treat. A final dusting of powdered sugar just before serving not only adds sweetness but creates that classic, beautiful presentation.
Your lemon bars are versatile and can be enjoyed in numerous settings, from casual family desserts to elegant dinner parties. For the best flavor experience, serve your bars slightly chilled.
These treats store well in the refrigerator for up to a week or can be frozen for up to 3-4 months. The contrast between the buttery shortbread crust and the bright lemon curd filling creates a perfect balance.


