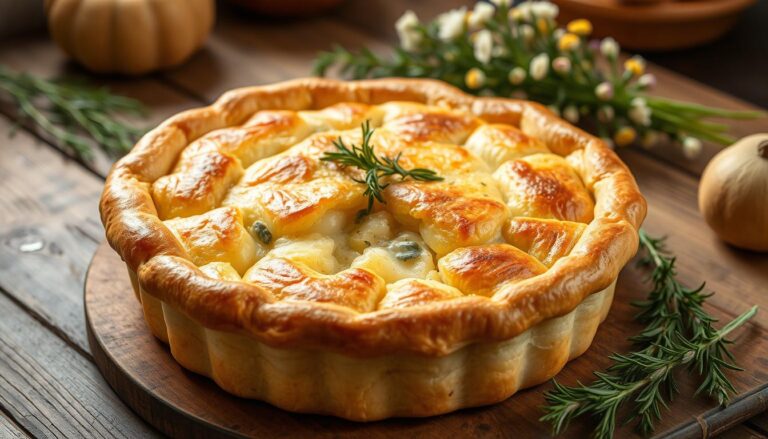
A great apple pie starts with an amazing crust. The crust can make or break your pie. With a mountain of gooey, cinnamon-kissed apples nestled under a perfectly buttery and flaky pie crust, this is most certainly a favorite recipe for many bakers.
You’ll discover the essential secrets to creating a perfect, flaky crust that will elevate your apple pie from good to exceptional. Mastering the techniques of ingredient selection, temperature control, and handling will transform your baking results. By the end of this article, you’ll understand exactly what makes a pie crust truly exceptional and how to replicate those results in your own kitchen every time.
Table of Contents
The Foundation of a Perfect Apple Pie
The secret to a perfect apple pie lies in its foundation: the crust. A sturdy crust is needed to hold in the mountain of apples, and whether you’re a pie crust beginner or pro, using both butter and shortening provides a quality combination of sturdy, flaky, and buttery texture.
Why the Crust Makes or Breaks Your Pie
The crust is the structural foundation of your apple pie, providing both support for the filling and a contrasting texture that complements the soft, juicy apples. A properly made crust creates a barrier that prevents the juicy apple filling from making the bottom crust soggy, maintaining the integrity of your pie from first slice to last.
“A great pie crust is all about balance and texture.” The flavor profile of your crust should complement rather than compete with your apple filling—a balance of buttery richness with just enough salt enhances the natural sweetness of the apples.
Essential Ingredients for a Flaky Crust
To achieve a flaky crust, you’ll need high-quality flour, cold fat (butter, shortening, or a combination), salt, and ice water. Understanding the science behind gluten development and fat distribution will help you make informed decisions when preparing your pie crust. By combining these essential ingredients and techniques, you’ll be well on your way to creating a delicious apple pie with a perfect crust.
Tip #1: Choose the Right Fats for Your Apple Pie Crust
Choosing the right fat for your apple pie crust is crucial for achieving the perfect balance of flavor and texture. The debate between using butter and shortening has been ongoing among bakers, with each having its own advantages.
Butter vs. Shortening: The Great Debate
The choice between butter and shortening largely depends on the desired outcome of your pie crust. Butter contributes unmatched flavor to your crust while creating steam pockets during baking, resulting in distinct flaky layers. On the other hand, shortening has a higher melting point than butter, helping maintain the structure of your crust during baking and creating a more tender texture.
The Perfect Ratio for Ultimate Flakiness
For many bakers, the ideal ratio is about 60% butter to 40% shortening, providing a perfect balance of flavor and texture in your apple pie crust. Using both butter and shortening provides a quality combination of sturdy, flaky, and buttery texture. Some key points to consider:
- Using European-style butter with higher fat content can help achieve both flavor and flakiness in an all-butter crust.
- Ensuring that your chosen fat is properly chilled before incorporating it into your flour is crucial for achieving flaky layers.
- Adding a small amount of vinegar or lemon juice can help inhibit gluten formation, resulting in a more tender crust.
By experimenting with different ratios of fats in your kitchen, you can discover your personal preference for the perfect apple pie recipe.
Tip #2: Master the Cold Ingredient Technique
Cold ingredients are the secret to a flaky and tender apple pie crust. The technique of keeping everything chilled is not just a suggestion; it’s a crucial step in making your apple pie stand out.
Why Temperature Matters for Pie Crust
The temperature of your ingredients significantly affects the final texture of your pie crust. When ingredients are too warm, the fat melts, leading to a dense crust. Conversely, cold ingredients ensure that the fat remains solid until baking, creating those desirable flaky layers.
The science behind this is straightforward: cold fat creates steam pockets in the oven, which then separate the dough into layers, resulting in a flaky crust.
Practical Methods to Keep Everything Chilled
So, how do you keep your ingredients and equipment cold enough? Here are some practical tips:
- Chill your flour and tools in the freezer for 15 minutes before starting.
- Use ice water instead of room temperature water.
- Work on a cold surface, like marble, to keep your dough cool.
Additionally, consider taking “chill breaks” if your hands are warming the dough too much. Preparing your dough ahead of time and keeping it refrigerated can also improve the crust quality.
| Method | Description | Benefit |
|---|---|---|
| Chilling Flour and Tools | Place flour and tools in the freezer for 15 minutes before use. | Prevents fat from melting, ensuring flakiness. |
| Using Ice Water | Use ice-cold water instead of water at room temperature. | Helps in maintaining the cold temperature of the dough. |
| Working on a Cold Surface | Use a cold surface like marble for rolling out the dough. | Keeps the dough cool, aiding in achieving a flaky crust. |
Tip #3: Perfect Your Rolling and Shaping Methods
Now that you’ve prepared your dough, it’s time to perfect the art of rolling and shaping your apple pie crust. This step is crucial in achieving a uniform thickness and preventing the crust from becoming too doughy or too crisp.
Tools and Techniques for Even Rolling
To roll out your dough evenly, start by lightly flouring your surface. Then, beginning from the center, roll outward in all directions, rotating your dough a quarter turn frequently. This technique helps maintain a circular shape and prevents sticking. The ideal thickness for your pie crust should be about ⅛ inch.

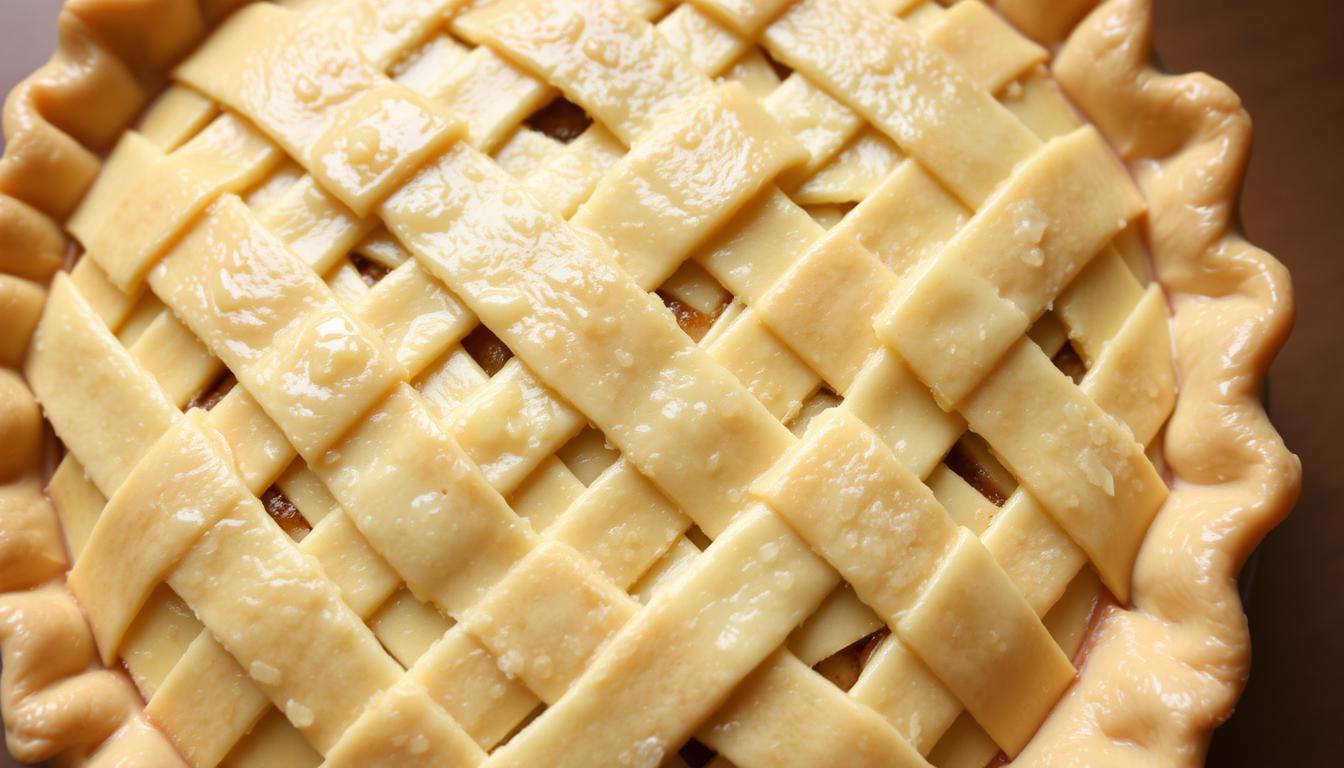
Transferring Dough Without Tears or Breaks
When transferring your rolled dough to the pie plate, make sure to do it gently to avoid stretching or tearing. You can either fold the dough into quarters or roll it around your rolling pin. Allow the dough to relax for a few minutes before fitting it into the pie plate to prevent shrinkage during baking. Trim excess dough, leaving about a 1-inch overhang to create decorative edges.
The Best Apple Pie Filling to Complement Your Perfect Crust

The filling is the heart of your apple pie, and getting it right is crucial. A well-crafted filling complements the crust and elevates the entire dessert.
Selecting the Right Apple Varieties
For the best apple pie, use a mix of apple varieties. Combining tart and sweet apples creates a complex flavor profile. Tart varieties like Granny Smith hold their shape during baking, while sweeter apples like Honeycrisp or Fuji add depth. Avoid soft, mealy apples that turn to mush.
The best apple pies use a combination of apple varieties to create complex flavor and texture. Aim for a mix of tart apples, like Granny Smith, and sweet apples, like Honeycrisp or Pink Lady. Firm apple varieties maintain their structure during baking, preventing your filling from becoming applesauce.
Balancing Sweetness and Spice
To balance sweetness, use both granulated and brown sugar. Brown sugar adds depth and caramel notes that complement the apples. A classic spice blend includes cinnamon, nutmeg, and a touch of allspice. Consider adding cardamom or ginger for unique flavor profiles.
Adding a tablespoon of lemon juice brightens the flavor and prevents browning. A small amount of flour or cornstarch thickens the juices released during baking. For enhanced flavor, pre-cook your filling for just 5 minutes to soften the apples and allow the spices to bloom.
Tip #4: Prevent the Dreaded Soggy Bottom
The soggy bottom crust is a common problem many bakers encounter, but with the right techniques, it’s easily avoidable. A soggy bottom occurs when moisture from the apple filling seeps into the bottom crust before it has a chance to bake properly.
Pre-Cooking Your Apple Filling
Pre-cooking your apple filling for just 5 minutes on the stovetop can significantly reduce the likelihood of a soggy bottom. This process helps draw out excess moisture and begins the thickening process. When placing the apple mixture into the pie crust, make sure to spoon the apples out of the bowl and discard any excess liquid that has accumulated at the bottom.
Proper Venting and Egg Wash Techniques
Proper venting in your top crust is crucial as it allows steam to escape during baking, rather than being trapped and soaking into the bottom crust. Applying an egg wash to the bottom crust creates a protective barrier that helps prevent moisture absorption from the filling. For extra protection, consider sprinkling a thin layer of ground nuts or a mixture of sugar and flour on the bottom crust before adding your filling.
Using a glass pie plate allows you to visually check that your bottom crust is fully baked and golden brown. By implementing these strategies, you can ensure a crispy and well-baked crust that complements your apple pie’s filling.
Tip #5: Master the Baking Temperature and Timing
A perfectly baked apple pie is a result of careful consideration of baking temperature and timing. To achieve this, you’ll need to employ a two-temperature approach in your oven.
Starting Hot, Finishing Low and Slow
Bake the pie at 400°F for 25 minutes. Then, keeping the pie in the oven, reduce the temperature down to 375°F (190°C). This method ensures that your crust sets properly and your filling is cooked to perfection.
Using Pie Shields and Foil for Perfect Browning
To prevent the edges of your crust from over-browning, use a pie crust shield or aluminum foil. Apply it after the first 25 minutes of baking, when the edges have reached a light golden color. Continue baking for another 35-40 minutes, or until the filling is bubbling and the crust is golden.
| Baking Stage | Temperature | Time |
|---|---|---|
| Initial Baking | 400°F | 25 minutes |
| Final Baking | 375°F | 35-40 minutes |

Classic Apple Pie Recipe with Perfect Crust
Now that we’ve covered the essential tips for making the perfect apple pie crust, it’s time to put them into practice with a classic apple pie recipe. This recipe combines the techniques discussed in the previous sections to create a deliciously balanced dessert with a flaky crust and flavorful filling.
Ingredients List
To make this apple pie, you’ll need:
- 2 (9″) pie crusts
- 7 large Granny Smith apples, peeled, cored, and sliced
- ½ cup granulated sugar
- ½ cup light brown sugar
- 2 tablespoons flour
- 1 teaspoon ground cinnamon
- 1 large egg for egg wash
Step-by-Step Instructions
Begin by preparing your pie crust at least one hour before assembly. Roll out the dough to about ⅛ inch thickness. For the filling, slice apples uniformly and mix with sugar, spices, and thickener. Let it sit for 15-30 minutes before pre-cooking for 5 minutes. Assemble the pie with the bottom crust, filling, and top crust. Brush with egg wash and bake until golden. This recipe yields a perfectly baked apple pie with a flaky crust.
Conclusion: Your Path to Apple Pie Perfection
The art of making a perfect apple pie crust is now yours to master. By implementing the five essential tips, you’ll create a crust that’s both flaky and sturdy. Remember, practice refines your technique, so don’t be discouraged by initial attempts. Allow your pie to cool for at least three hours to set the filling properly. Serve with vanilla ice cream for a classic treat, or try different toppings like caramel drizzle. With these tips, you’ll be on your way to apple pie perfection.